Creating a 3D model of a pooja room in SketchUp is a rewarding project for any design professional or architecture student. By the end of this tutorial, you will have crafted a detailed and culturally significant space that reflects traditional Indian aesthetics. This tutorial will guide you step-by-step through the process, ensuring you understand how to use SketchUp's tools effectively to bring your vision to life. Whether you're designing for a 2BHK apartment or a larger residence, a well-modeled pooja room can be a serene and spiritual centerpiece.
What You'll Need
- Software: SketchUp Pro 2024 (Approx. ₹24,000/year)
- System Requirements: Windows 10 or MacOS 11, 8GB RAM, 1GB free disk space
- Files to Download: None required, but optional textures can be downloaded from SketchUp's 3D Warehouse
- Skill Level: Beginner to Intermediate
- Time Estimate: Approximately 3 hours
Setting Up Your Workspace
- Open SketchUp: Launch SketchUp Pro 2024 from your desktop or application folder.
- Start a New Project: Go to File → New. You should see a blank workspace.
- Set Units: Go to Window → Model Info → Units, and set to "Decimal" and "Meters". This is important for accuracy in Indian contexts.
- Save Your Project: Press Ctrl+S (Cmd+S on Mac) and name your file "PoojaRoom.skp".
Pro Tip: Use the "Styles" panel (Window → Default Tray → Styles) to switch to a monochrome view, which helps focus on geometry without texture distractions.
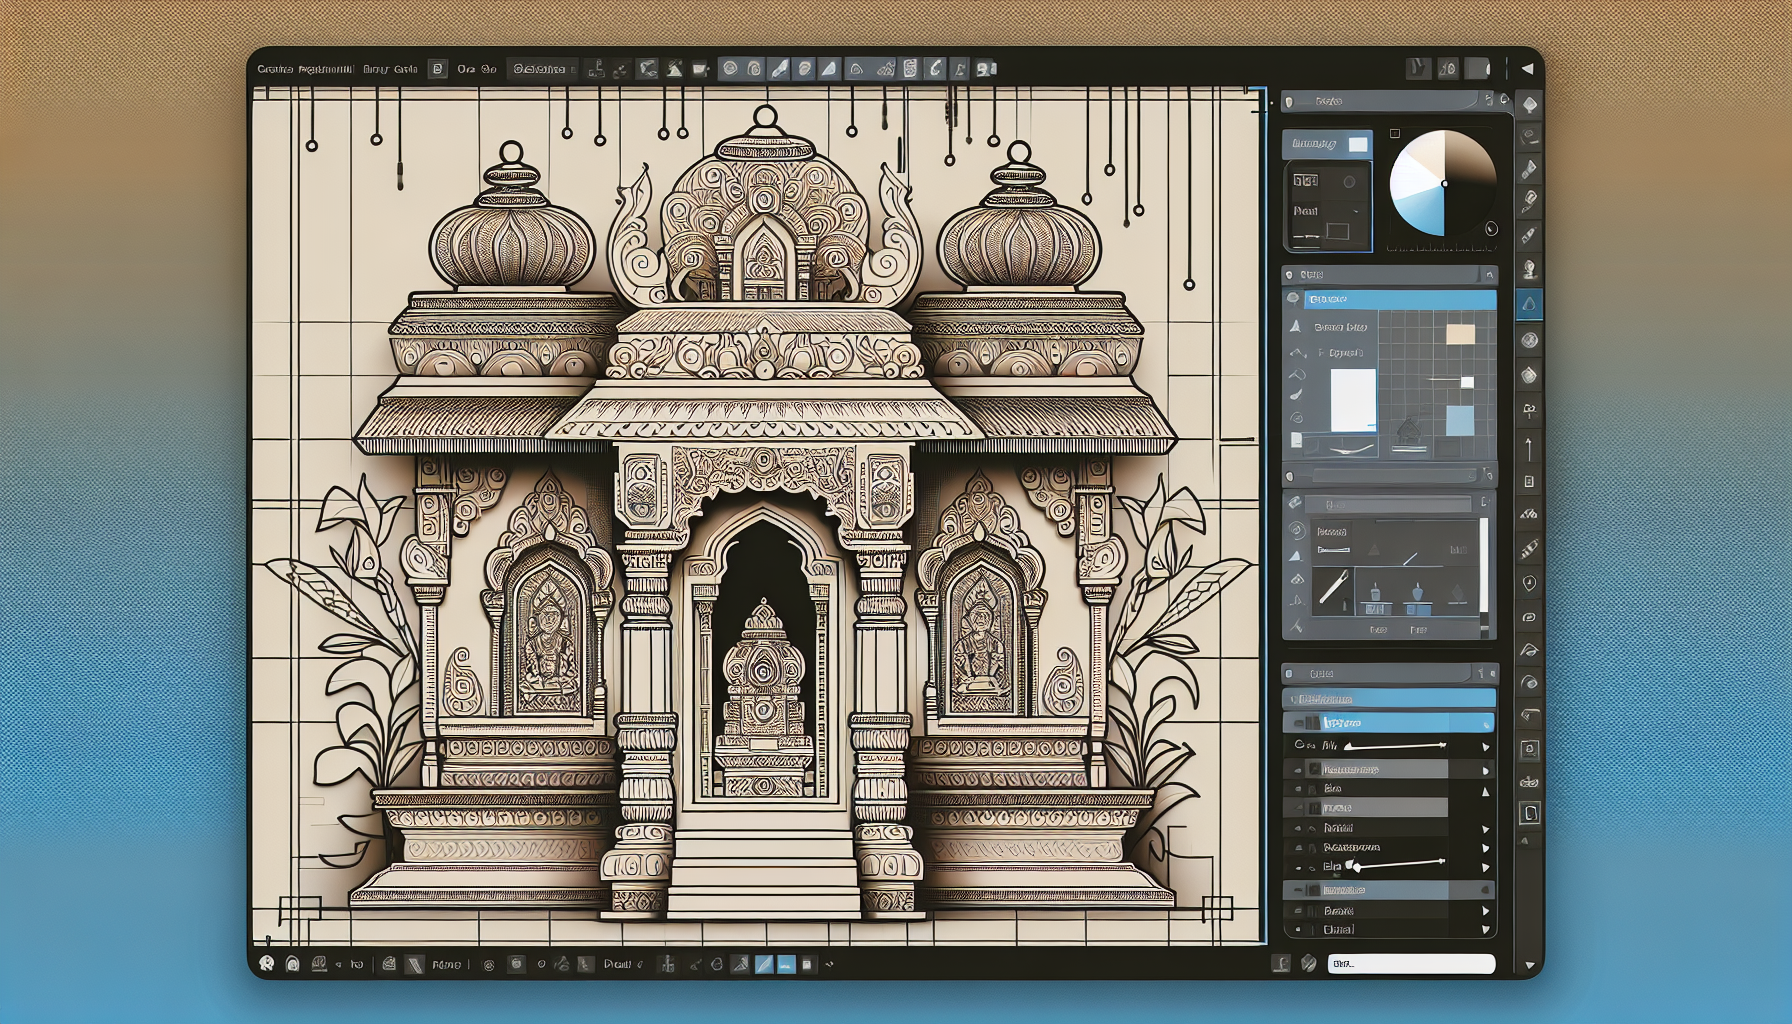
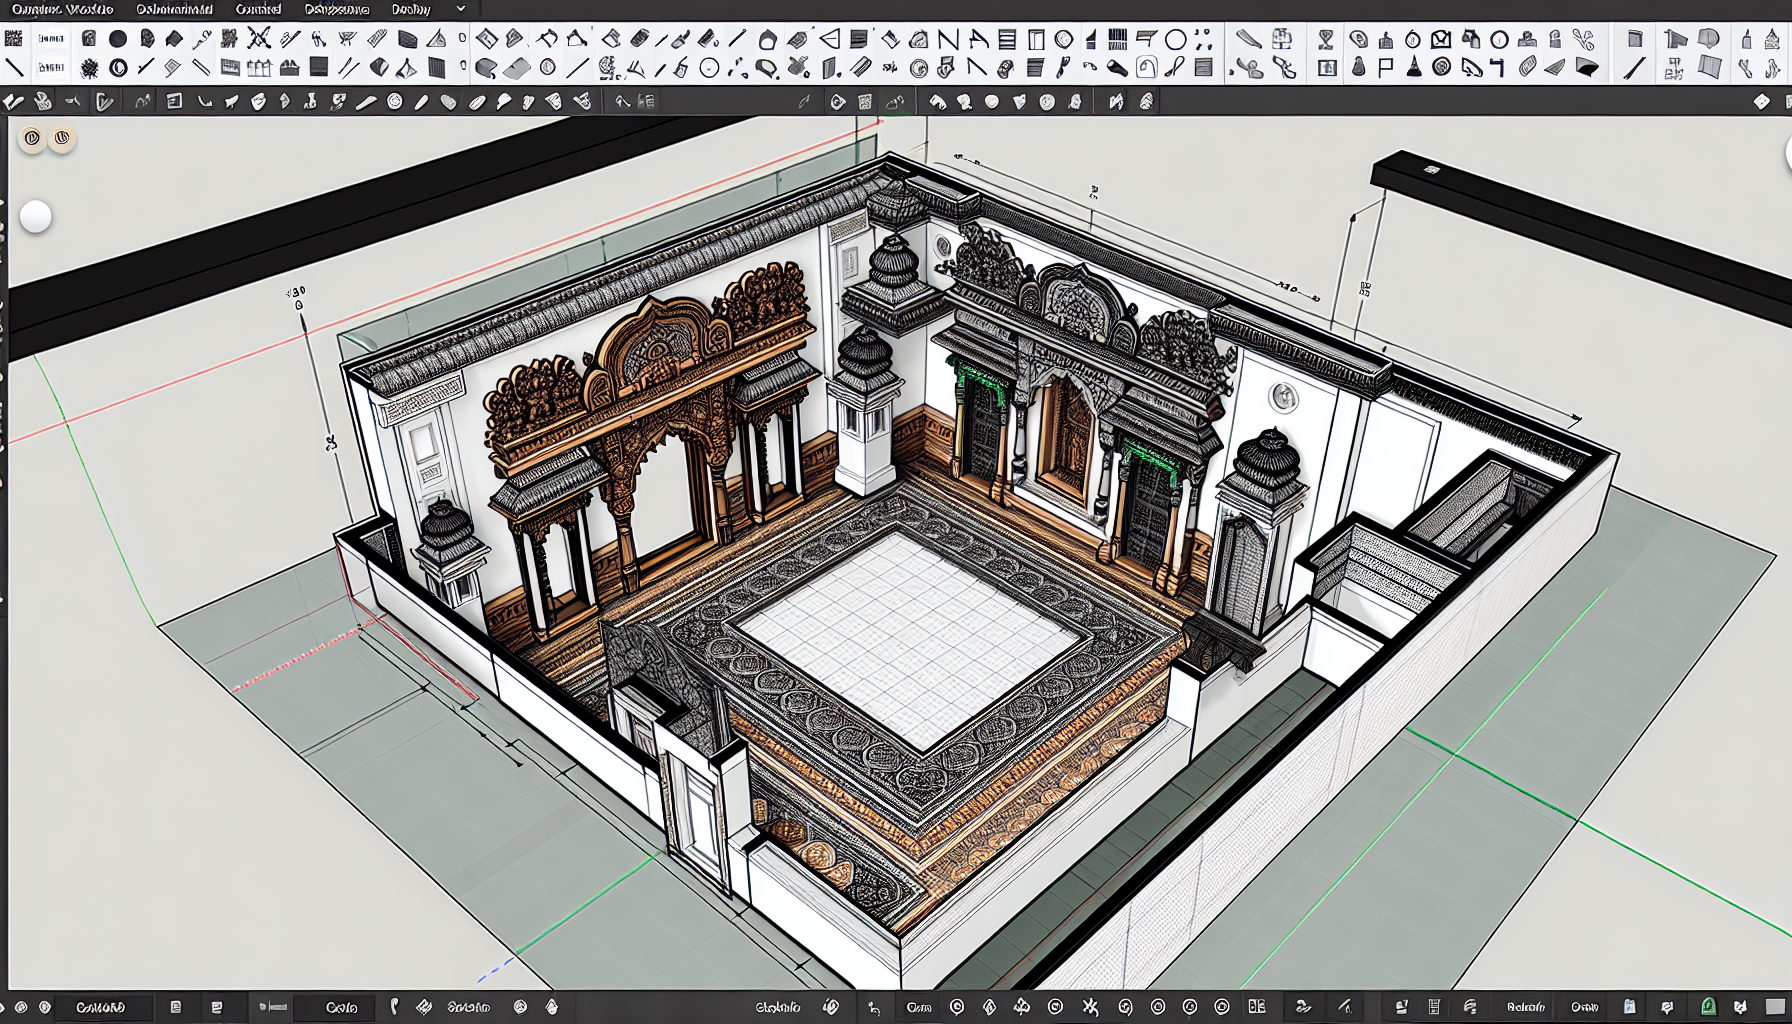
Designing the Room Structure
-
Create the Floor:
- Select the Rectangle tool (R) from the toolbar.
- Click on the origin point in the workspace and drag to create a rectangle.
- Type "2m, 2m" and press Enter to set the dimensions, typical for a small pooja room.
-
Extrude the Walls:
- Select the Push/Pull tool (P).
- Click on the floor rectangle and drag upwards.
- Type "2.5m" and press Enter to set the wall height.
-
Add a Ceiling:
- Use the Line tool (L) to draw lines connecting the tops of the walls.
- Select the Push/Pull tool again, click on the ceiling surface, and drag upwards.
- Type "0.1m" and press Enter to set the ceiling thickness.
-
Create an Entryway:
- Select the Rectangle tool and draw a rectangle on one wall for the door.
- Type "0.9m, 2.1m" and press Enter to set the door dimensions.
- Use the Push/Pull tool to remove the wall section within the rectangle.
Pro Tip: Use the "Measurements" box to type exact dimensions after drawing. For instance, type "2.5m" after using the Push/Pull tool to set wall height precisely.
Adding Traditional Elements
-
Design a Platform:
- Inside the room, use the Rectangle tool to draw a platform.
- Type "1m, 0.5m" and press Enter for the altar base dimensions.
- Use the Push/Pull tool to extrude it upwards by "0.2m".
-
Create Niches:
- Draw rectangles on the wall above the platform for niches.
- Type "0.5m, 0.5m" for each niche and use Push/Pull to create shallow spaces.
-
Add Decorative Mouldings:
- Use the Arc tool to draw a simple arch above the niches.
- Select the Follow Me tool and apply a profile around the edges to create mouldings.
-
Incorporate Traditional Patterns:
- Use the Line and Arc tools to sketch traditional Indian motifs on the walls.
- Use the Push/Pull tool to create relief patterns.
Pro Tip: Use the "Offset" tool to quickly create parallel lines or shapes, which is helpful for designing symmetrical elements like mouldings.
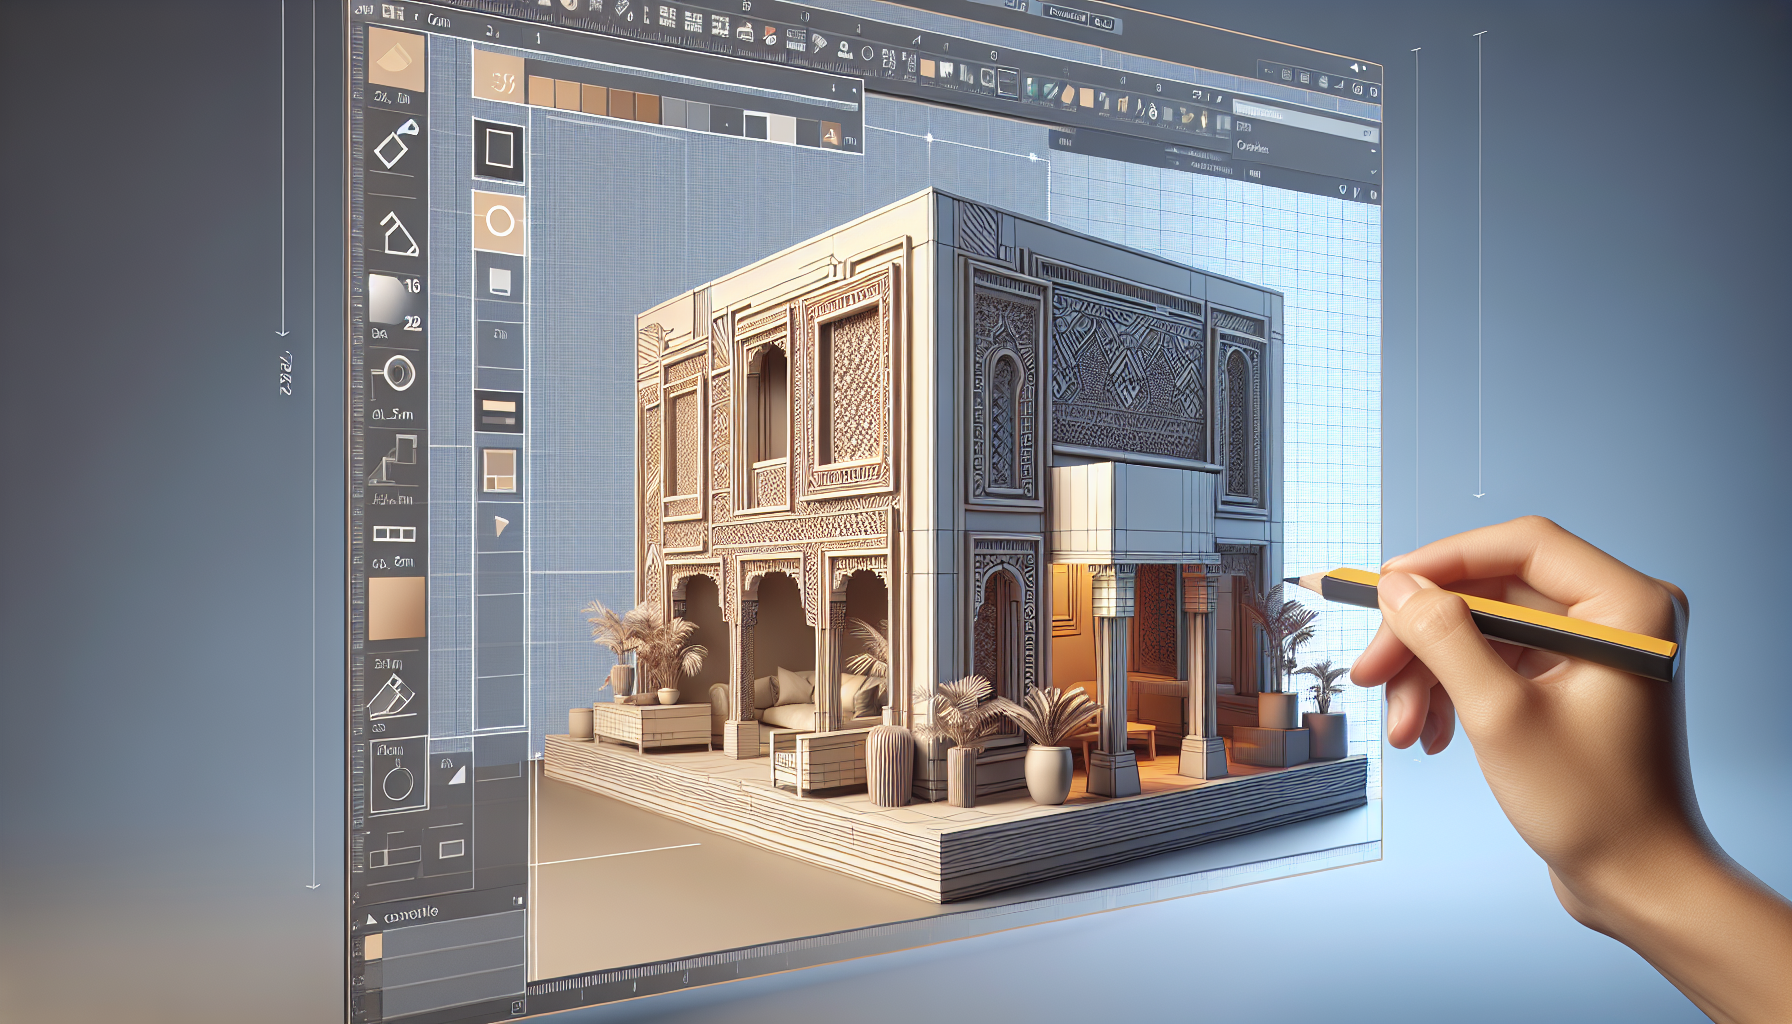
Applying Textures and Colors
-
Open the Materials Panel:
- Go to Window → Default Tray → Materials.
-
Select a Wood Texture:
- Browse the "Wood" category for a suitable texture for the altar platform.
- Click on the platform surface to apply the texture.
-
Apply Marble Texture:
- Choose a white marble texture for the floor.
- Click on the floor surface to apply.
-
Paint the Walls:
- Select a warm color from the "Colors" category.
- Click on the wall surfaces to paint them, enhancing the room's spiritual ambiance.
-
Add Decorative Borders:
- Use the Paint Bucket tool to add decorative borders around niches and doorways.
Pro Tip: Use the "Sample Paint" tool (eye-dropper icon) to quickly pick colors from existing textures and apply them elsewhere.

Placing Decorative Items
-
Download Models:
- Use the 3D Warehouse (File → 3D Warehouse → Get Models) to find and download Indian pooja room items, like lamps and statues.
-
Position Items:
- Use the Move tool (M) to place these items on the altar and niches.
- Ensure they are centered and aligned properly.
-
Adjust Lighting:
- Add a ceiling light by drawing a small circle and extruding it.
- Use the "Shadows" tool (View → Shadows) to simulate lighting effects.
-
Arrange Floral Decorations:
- Use the 3D Warehouse to download floral garlands and place them around the altar.
Pro Tip: Use the "Rotate" tool (Q) to adjust the orientation of downloaded models to fit your design perfectly.
Common Mistakes to Avoid
- Incorrect Scale: Always check your model's dimensions to ensure they match real-world sizes.
- Misaligned Textures: Ensure textures follow the grain or pattern properly for realism.
- Forgetting to Save: Regularly save your work (Ctrl+S / Cmd+S) to avoid losing progress.
- Ignoring Lighting: Proper lighting can dramatically affect the look of your model; don't skip this step.
- Overlooking Proportions: Ensure that all elements are proportionate to the room size to maintain a balanced design.
What's Next
- Explore Advanced Texturing: Learn how to create custom textures for more personalized designs.
- Modeling Complex Structures: Try your hand at creating intricate jaali patterns for windows.
- Rendering with V-Ray: Enhance your SketchUp models by learning to use V-Ray for photorealistic renders.
By following these steps, you should now have a beautifully modeled pooja room that reflects both traditional Indian aesthetics and modern design techniques. Continue practicing and experimenting with different elements to further hone your SketchUp skills.